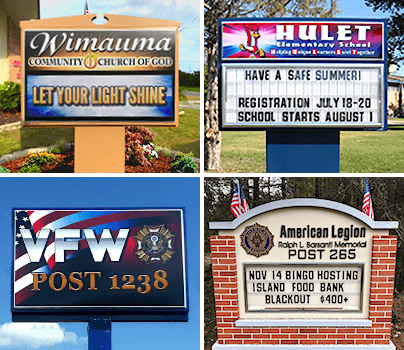
We LOVE to get photos of signs from our customers! Taking a photo of an LED sign can be a little tricky though due to the refresh rate, moving animations and transitions; they just don't sit still! Here are a few camera tips* you can use to help get the best possible photo.
For Best Results
- Try to capture a still frame of the best, most colorful content on the sign, without moving animations or slide transition effects.
- Take the photos on a clear day, either morning or dusk is best. If that's not possible, make sure to photograph the shaded side of the sign. Don't take the photos directly into the sun, at night, or when it's raining or overcast.
- Frame your shot to utilize landscaping and building features but try to avoid cluttered parking lots or streets or anything obscuring the sign, including any people. Power lines are okay as they are fairly easy to edit out of the photo.
- Take photos at slight angles instead of straight-on to show cabinet depth and other sign features.
- Don't take a photo while in a moving vehicle (a drive-by), it will most likely be out of focus or blurry.
- Take more shots rather than less so you don't have to go back again!
Set the Scene
- We recommend popping in and talking to the business owner to let them know what you're up to.
- For the best shot, we find it's easiest to set up the camera or video camera on a tripod.
- Frame the shot so that there is plenty of "white space" around it (zoom out a bit) as this gives more flexibility when designing marketing materials.
- Make sure to get the entire sign in the photo, no cropping the top or bottom.
Take the Shot
The three shots we'd like to have:
- Up close shot focusing on the LED or face of the sign, from an angle.
- The entire sign including the mounting.
- The sign with the corresponding building.
A Few More Tips:
- Adjust the shutter speed so it plays nicely with the refresh rate and other movement of the sign. Displayed in a fraction, the larger the denominator (bottom number) the quicker the camera will take the photo. Start with 1/30th then adjust this number up or down, depending on your camera.
- Adjust the Aperture. This is the hole that lets light into the camera. A large aperture lets more light in, a small aperture lets less light in. This is measured in F stops (f/2.8, f/16 etc.) The lower the number, the brighter the image.
- Adjust the ISO. This is the camera's sensitivity to light. A lower ISO makes for a darker image, a higher ISO makes for a brighter image.
* To access these settings you will need to be in "shutter priority mode". On Nikon and Sony cameras it the "S" setting and on Canon and Pentax it is the "TV" setting.
